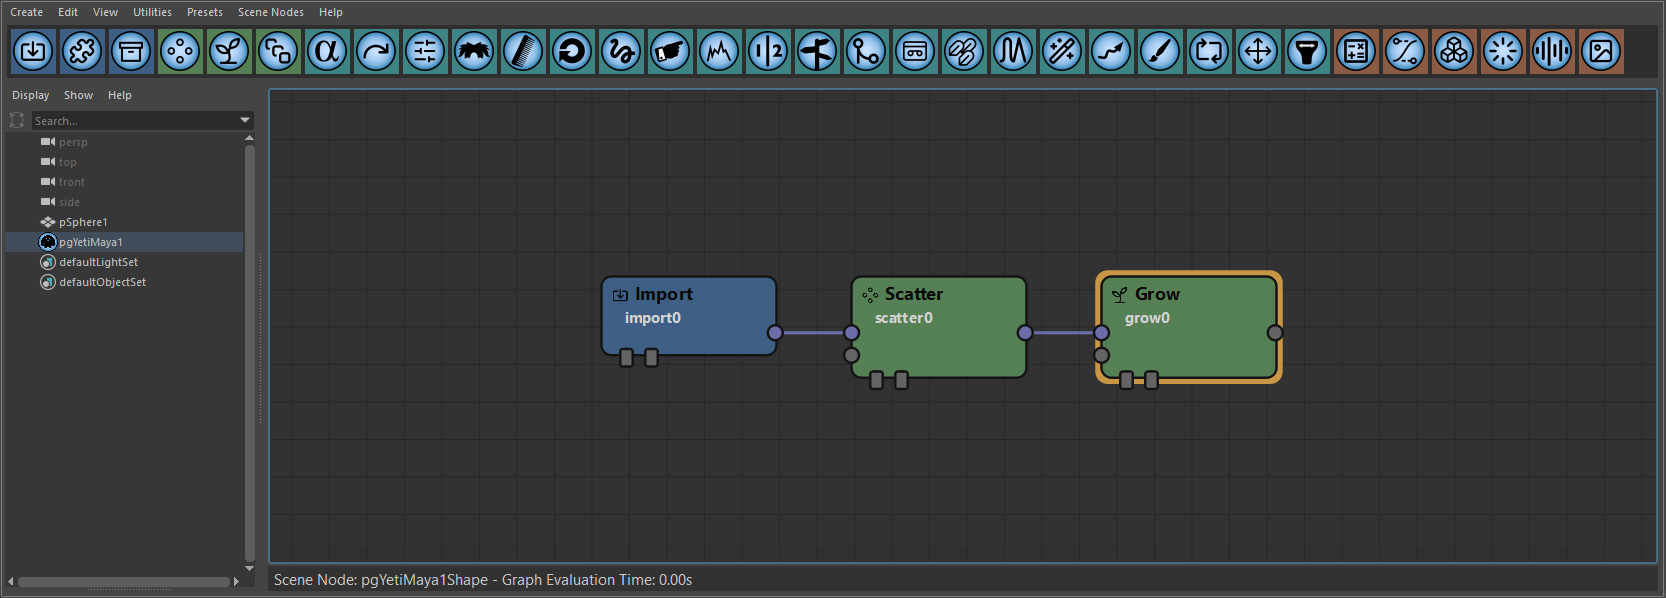
The Basics
Graph
A graph contains the flow of nodes that describe the process that the fur/hair/feathers/geometry will undergo during the course of evaluation - these nodes can be re-organized, removed, and parameters changed to affect the final appearance of the fur.

Yeti Maya Node
Each instance of a Yeti node in Maya owns it's own graph, so the first step in creating a graph is making sure a Yeti node has been created in Maya.
To create a Yeti node make sure a mesh is selected and use the CRM ( Create On Mesh ) button on the Yeti shelf, this will create a new Yeti node and add the selected geometry as an input. This new Yeti node is a container for an evaluated graph and also used as a way of referencing grooms and caches into the scene - it's generally a good idea to rename this node to something useful so you can find it easily.
You may also create Yeti nodes with the CR ( Create Node ) button in the Yeti shelf, or with the pgYetiNewNode mel command though when created this way there will be no input objects assigned thus they will need to be added manually.
If at any point you want to add or remove input objects to the Yeti node open up the Graph/Input Objects palette in the Attribute Editor and using the Add Object(s) which will bring up a list of objects in the scene that can be added.
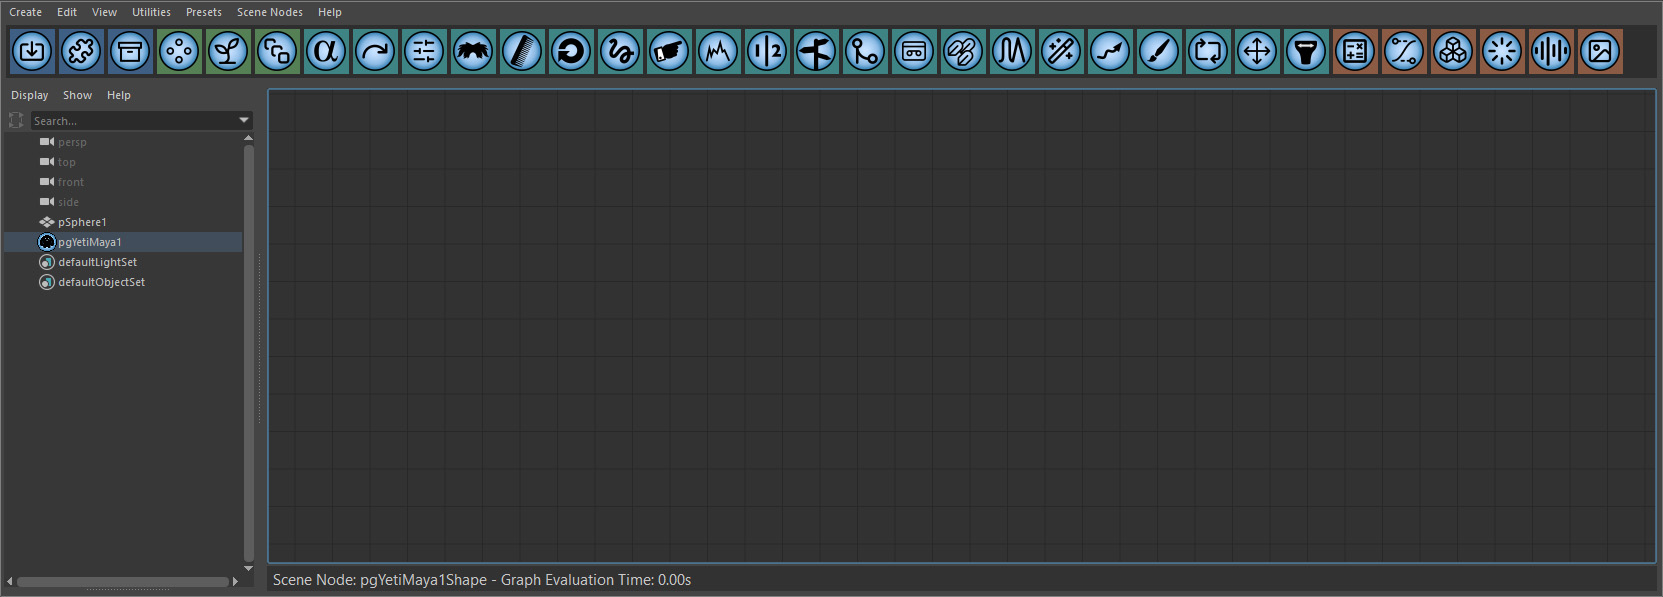
With this Yeti node selected you can open the Yeti Graph Editor panel in any of the windows - as you have just created this node the graph area will be empty with an outliner to the left and available nodes at the top.

Graph Nodes
Nodes make up the building blocks of a Yeti graph where each node is used to apply a specific operation to the data flow and is allowed any number of inputs and at least one output. There are three categories of nodes:
| Node Type | Description |
|---|---|
| Input/Output | For data I/O - Import, for example, is used to import geometry, strand and guide data from the scene. |
| Creation | Create new data in the graph - whether scattering point samples or growing the fur |
| Modify | Modify the data flow - combing, guides, scraggle, etc. |
| Sampler | Nodes that can be wired up to parameters to provide sampled results of expressions, textures or geometry. |
A nodes inputs and output are used to wire them together via arrows ( sometimes called noodles ) which defines how the data flows through the graph, it is useful to visualize the data as it moves from one node to another with each node applying it's own operation to the data.
Any output can be connected to multiple inputs, and inputs are limited to one connected output.
Graph Node Parameters
Node parameters are either numeric ( float, vector, etc. ) or a string.
Numeric parameters accept not just static values but also expressions, for instance you might have the length in a Grow node be $F * 0.1 as the node is evaluated Yeti will resolve the $F variable and in this example the hair will grow as the frame changes.
Please refer to the Expression Reference for a detailed breakdown of the expression language and how it is used.
Strings are handled somewhat differently, instead of expressions you can use ${ENVVARNAME} to reference environment variables defined.
Common Parameters
All nodes will share these common parameters.
| Parameter | Description |
|---|---|
| Name | The nodes name, this has to be a unique name to represent the node in the graph - if you do use a name of a node that already exists Yeti will automatically append a number to make it unique. |
| Group | Most nodes obey the Group attribute, if a Group has previously been created via the Group node you may specify it here to limit the effect of the node to those specific points/fibres. |
| Evaluation | Used to control if the node is always evaluated or just during render or display |