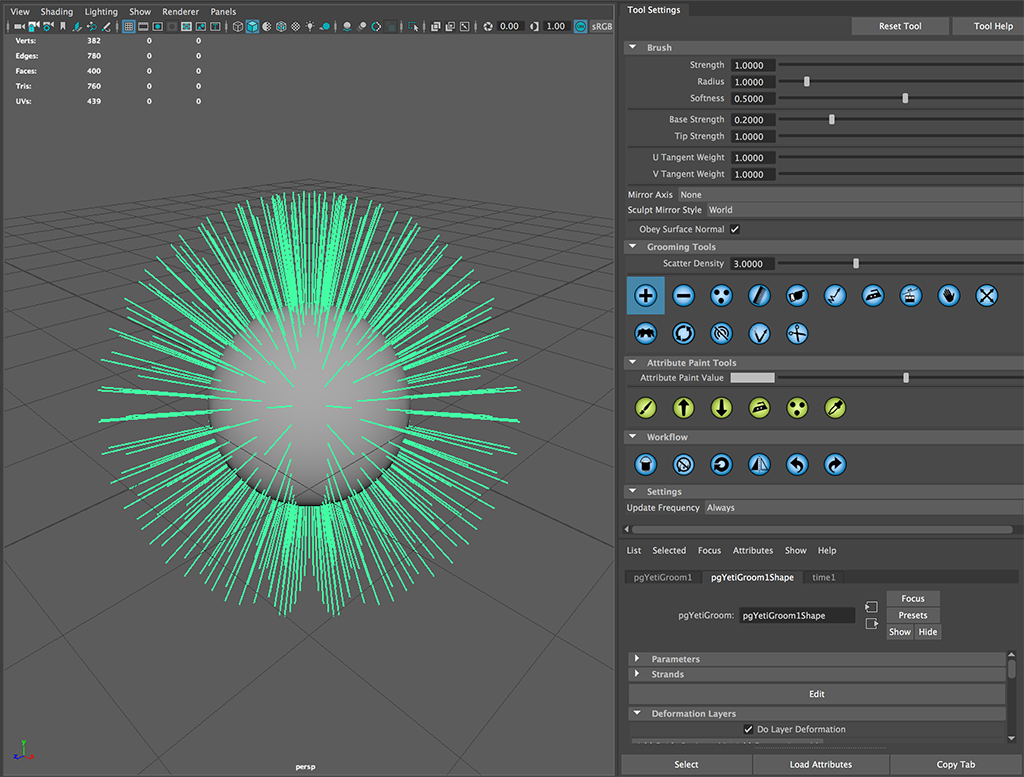
Grooming
Although the graph provides enough control to get a decent overall fur result in most cases you're going to want a much more aesthetic means of controlling the look of the system.
Yeti provides this control via Grooms which is a set of controllable strands that can be shaped with the ability to store any number of custom attributes on each.
A graph can rely on any number of input grooms which may control the length, density, direction or other node parameters via the Attribute node.
Creating a Groom
A groom is generated via a groom node in Maya - to create the groom select a mesh and press the CRG ( Create Groom ) button in the Yeti shelf and a new empty node will be created.
Grooms consist of any number of strands, defaulting to none, and require the user to create an initial set of strands - to do this use the Add followed by the Fill tool to quickly create a strand at every vertex which is a good default starting point for most grooms.

The Yeti Groom node works within it's own grooming context where you can use brushes to cut, comb and paint the Groom.
To enter the combing mode select the groom and in the attribute editor press any of the tools in the Tools palette - from this point on you can click and drag across the surface of the mesh to comb the strands in various modes.
As you groom the node maintains the length of the strand and tries to relax the segments to give a more fluid feel to the workflow.
Using Grooms
Once a groom has been created you'll want to use the result in your graph.
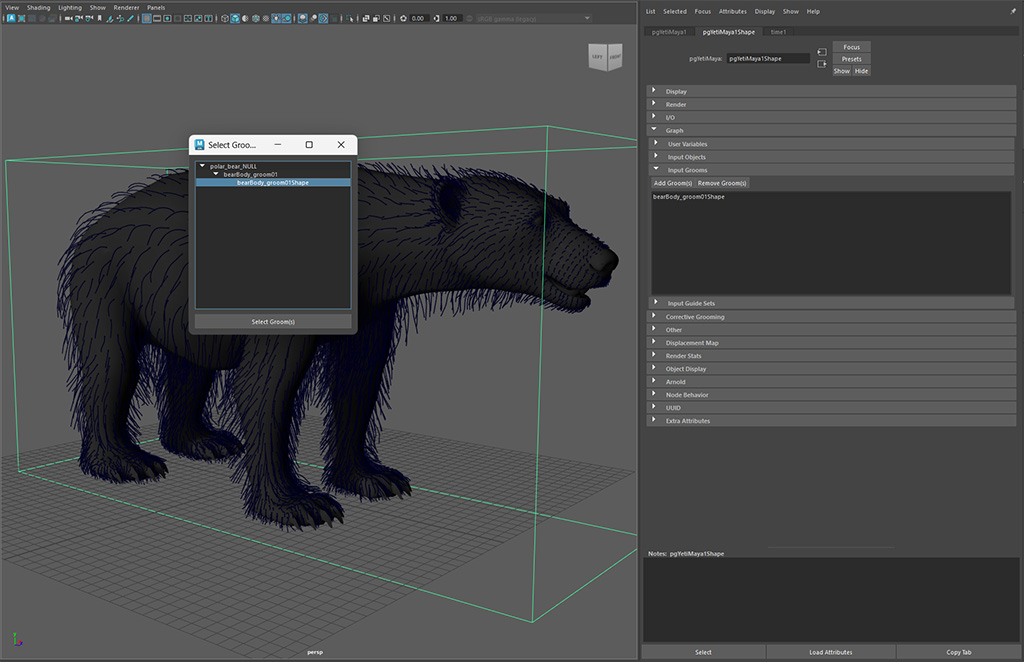
The first step is to attach the groom to your Yeti node, to do this select the Yeti node and open up the Graph/Input Grooms palette and Add Grooms(s). This will bring up a selection window that lists all the possible grooms in the scene.

Select the desired groom and Select Groom(s) which will attach the Groom to your Yeti node and you should now see it in the list of Input Grooms.
The next step is to return to the graph editor ( selected the Yeti Node and press GE in the Yeti shelf or Open Graph Editor). As with all data you will need to import the groom, use the Import node and in the attribute inspector set it too groom mode. In the name field specify all or some of the name of the groom ( you need to specify the groom shape node, in practice it's safe to use myGroom* vs. having to explicitly set myGroomShape ).

It's likely that the minimal use for the groom will be to adjust the fibers directions and to do this you will need to use the Comb node. Once created make sure the main fur flow ( output from Grow ) is connected to the first input of the Comb node, and connect the output from your groom Import node to the second input of the Comb node. When set as the root you should now see the fibers adhering to the groom you created.

If you adjusted the lengths of the strands in the groom node you can also connect the groom to the second input of the Grow node, this tell the grow node to use the length attribute of the strands as a multiplier. Lastly, if you painted a density attribute on the groom node you can also connect the groom to the Scatter node in a similar manner to control how the initial source points are generated.

Once the groom has been imported and used in the graph and changes to the groom will dynamically be updated in the graph and viewport. This is useful to see the final result of the graph though depending on the density and complexity of the graph it may slow down interactivity.