Guide Curves
Guide curves are an alternative to a groom for shaping fur. They're ordinary Maya NURBS curves: the fibres around each curve follow its shape. Because they're Maya curves, you can create and edit them with Maya's curve tools, rig and animate them, or bring them in from other software. Guides suit long hair, such as manes and hairstyles, where you want to control the flow with a few curves.
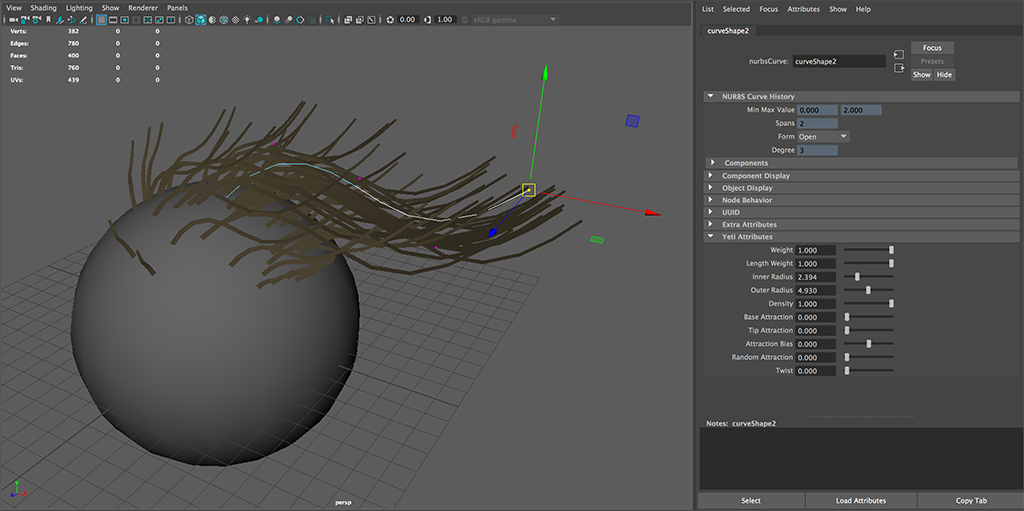
You can place guide curves anywhere, but it's good practice to start each one on or just above the surface, never inside it.
Each guide should leave the surface in roughly the same direction as the surface's normal. A guide that points into the surface is ignored.
Using Guide Curves

- Put your curves in a Maya set: the graph uses a whole set of guides, rather than individual curves.
- Select the Yeti node and add the set with Add Guide Set(s) in the Graph > Input Guide Sets section of its Attribute Editor.
- In the Graph Editor, create an Import node. In its Inspector, set its Type to Guides and enter the name of the set in Selection.
- Add a Guide node after the Grow node, and connect the guides' Import node to its second input. The Guide node bends the fibres to follow the guide curves, as the Comb node does with a groom.
The attraction and twist attributes on each curve (see Guide Curve Attributes) control how tightly the fur gathers around it.
As with grooms, guides can also control the length and density of the fur. Connect the guides' Import node (or a Merge of guides and a groom) to the second input of the Grow node to scale the fibres' length, or of the Scatter node to control the density.
The graph reads the Maya curves live, so any change you make to them updates the fur straight away.
Guide Curve Attributes
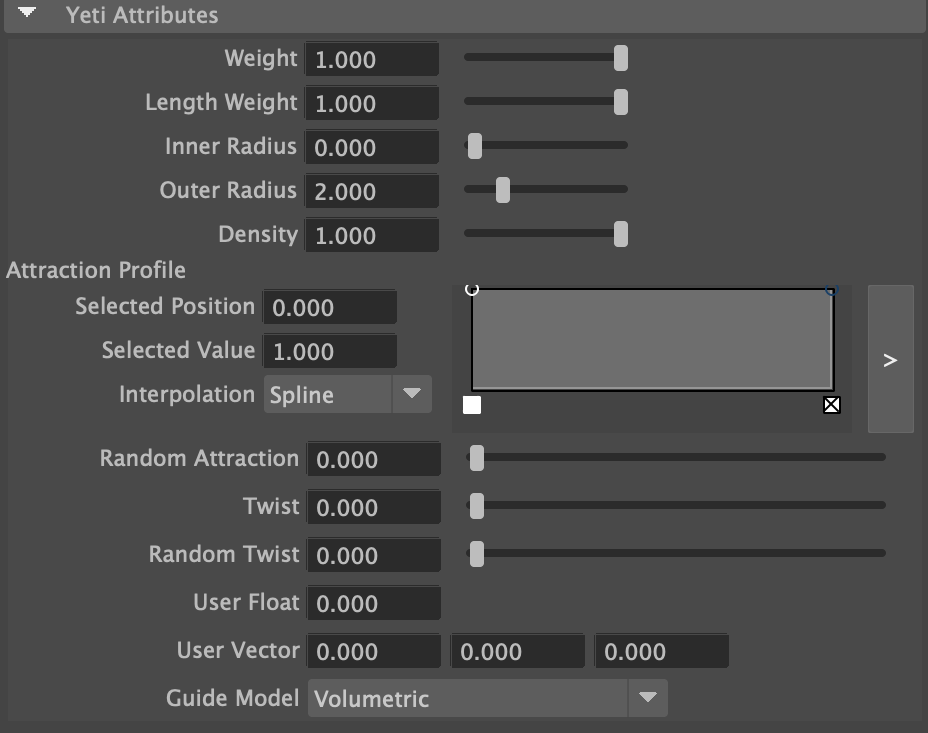
When you add a set to a Yeti node, Yeti adds these attributes to each curve shape in the set, in the Yeti Attributes section of its Attribute Editor. Use them to control each curve's effect.
| Attribute | Description |
|---|---|
| Weight | How strongly the curve affects the fibres around it, compared with the other guides. This doesn't affect how a Grow node uses the curve. |
| Length Weight | Scales the length of the fibres when the guides are connected to a Grow node's second input. |
| Inner Radius / Outer Radius | How far the curve's effect reaches. Fibres within the inner radius are fully affected, the effect fades out between the two, and fibres beyond the outer radius aren't affected. |
| Density | Scales the density when the guides are connected to a Scatter node. |
| Base Attraction / Tip Attraction | How strongly fibres are pulled towards the curve at its root and at its tip. These set the ends of the Attraction Profile. |
| Attraction Profile | How strongly fibres are pulled towards the curve along its length. High attraction gathers the fibres tightly around the curve, like a clump. |
| Random Attraction | Varies the attraction randomly from fibre to fibre. |
| Twist | How much fibres twist around the curve. |
| Random Twist | Varies the twist randomly from fibre to fibre. |
| User Float / User Vector | A number or vector value that's passed into the graph. You can read it with the Attribute node, and it's kept when guides are converted to fibres. |
Yeti also adds these attributes to the guide set itself:
| Attribute | Description |
|---|---|
| Max Number Of Guide Influences | The maximum number of guides that can influence each fibre. |
| Step Size | How finely Yeti samples each curve: the length of each step along it. |
| Minimum Number Of Steps | The minimum number of steps Yeti samples along each curve, however short it is (at least 3). |
Rest Position
By default, Yeti uses guides exactly where they are in the scene, on the assumption that they're rigged or animated to follow the character. If your guides aren't rigged, you can make them follow the surface as it deforms instead, as a groom does. To do this, save a rest position for the guides.
Select the curves (or the whole guide set, to save them all at once) and choose Yeti > Save Guides Rest Position.
If you change the guides' rest shape, save the rest position again.
To remove the rest position, select the curves or set again and choose Yeti > Remove Guides Rest Position.