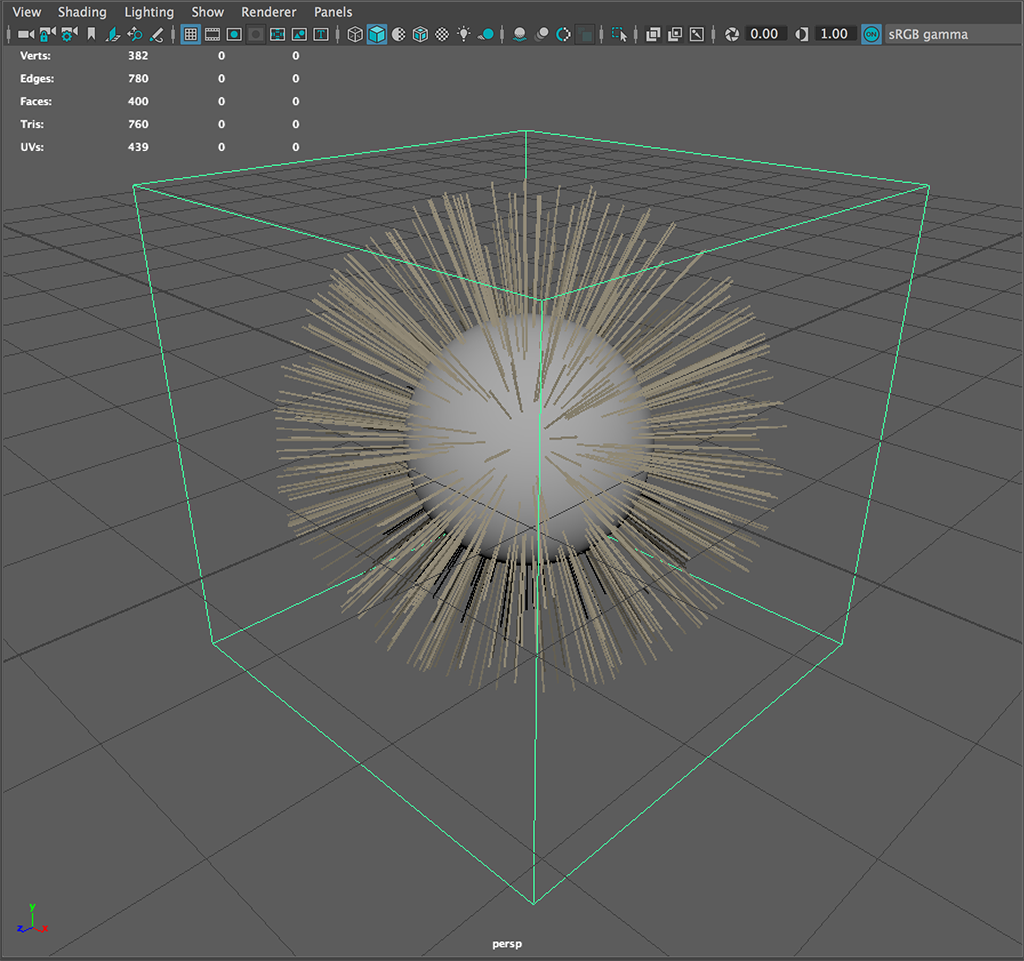
First Graph
Every graph ( for fur ) will require an Import, Scatter and Grow node.
Begin by creating an Import node, which should appear in the centre of the graph editor window. Once a node has been created you can select them, move them around to reorganize the graph and delete them.
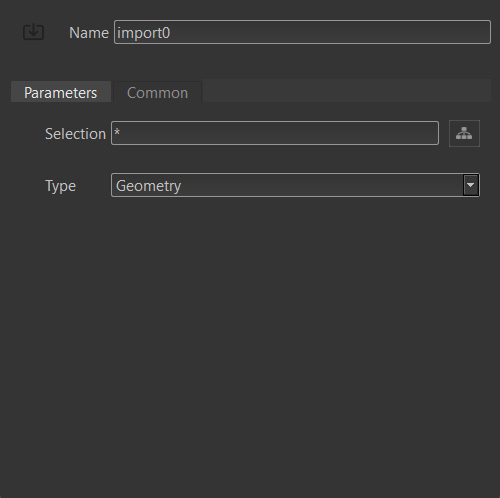
The Import node is used to source data from the Maya scene so the graph knows what it's to work with, this can either be the geometry from which the fur will grow, grooms or guide sets.
Although you have access to the input geometry and grooms assigned in Maya the relationship to these in the graph is completely based on the nodes name. If the name of a node in Maya changes it will not automatically be reflected in the graph, thus you will have to manual update it.
You can double click any node to bring up the attribute inspector which is used to control the values of the node - for Input this includes the Import type describe above as well as a name used to identify one of multiple inputs. Yeti uses the name of the geometry to determine if it should imported, you can also use wildcards ( * ) to import multiple objects at the same time - by default Yeti assumes you want to import everything.
Now that you have geometry available in your graph you can begin to generate the fur which is a two step process.
First a Scatter node will need to be created to scatter source points across the geometry and secondly you will need to create a Grow node which actually generates the fibers from those points.
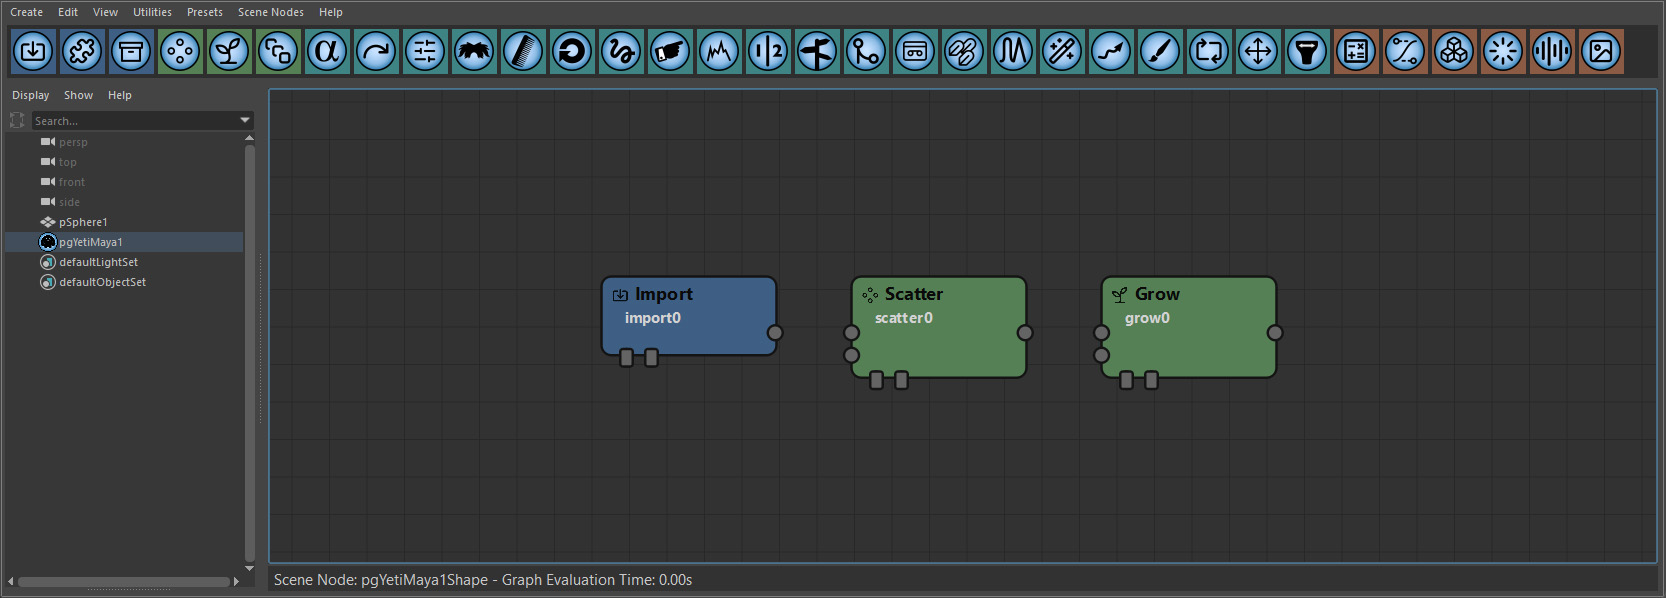
The Scatter node has various attributes for controlling the density of system which ( as shown later ) can be controlled by grooms to limit it's influence. When a Yeti graph is evaluated a global density multiplier is used to vary the density of the system between the viewport and rendering which directly affects the values in the Scatter node.
In some instances you may have a scatter node ( source points for clumping ) that should stay consistent between varying densities, in this case you can use the Lock attribute in the inspector to lock the density to the specified values.
The Grow node is used to grow the fibers from the scattered points with control over length as well as segment length ( examples of controlling this with an input groom to follow ).
Connections ( Flow )
When more than one node has been created you will use the connections ( io's ) on the nodes to create arrows between each node to control the flow of data.
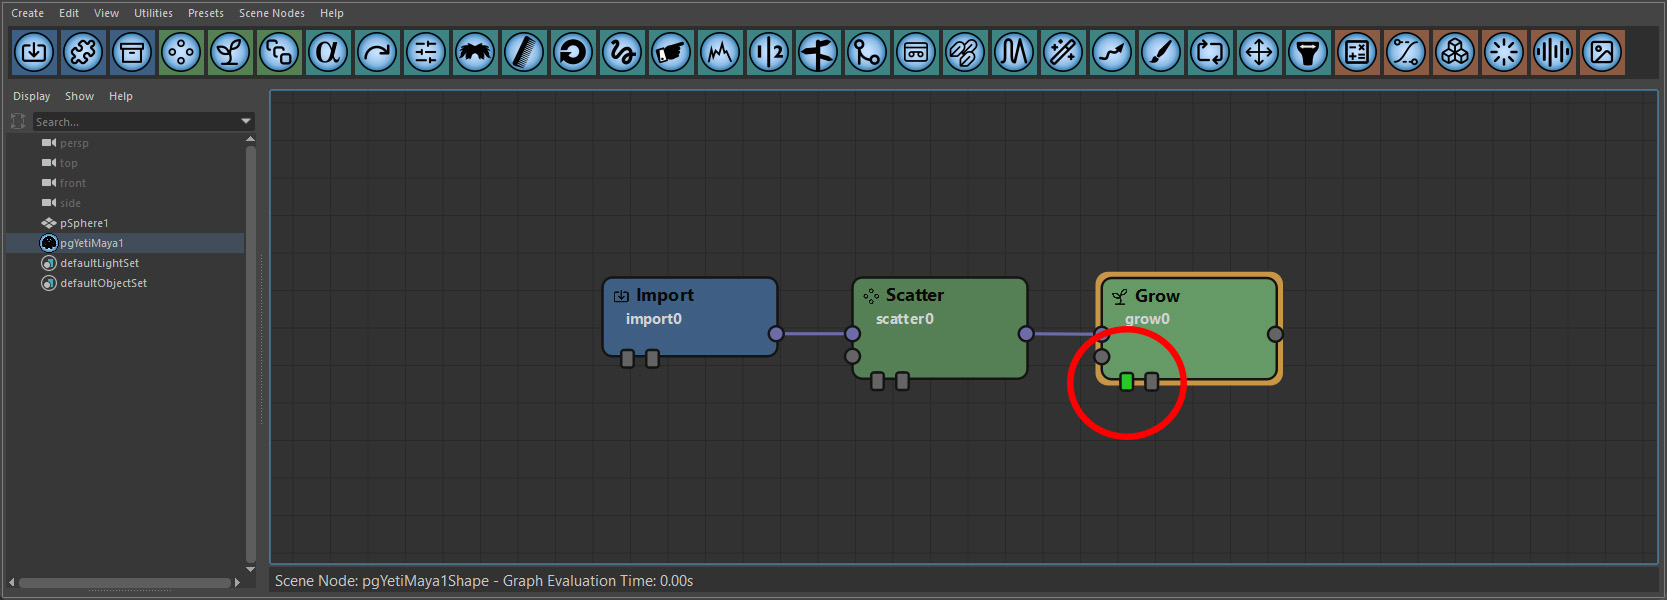
In most cases each node will only have one output with the possibility of having multiple inputs with the top input being the first and the bottom being the last. For our simple graph this means that the output from the Import node should be connected to the first Input on the Scatter node with the output of the Scatter node then being connected to the first input on the Grow node.
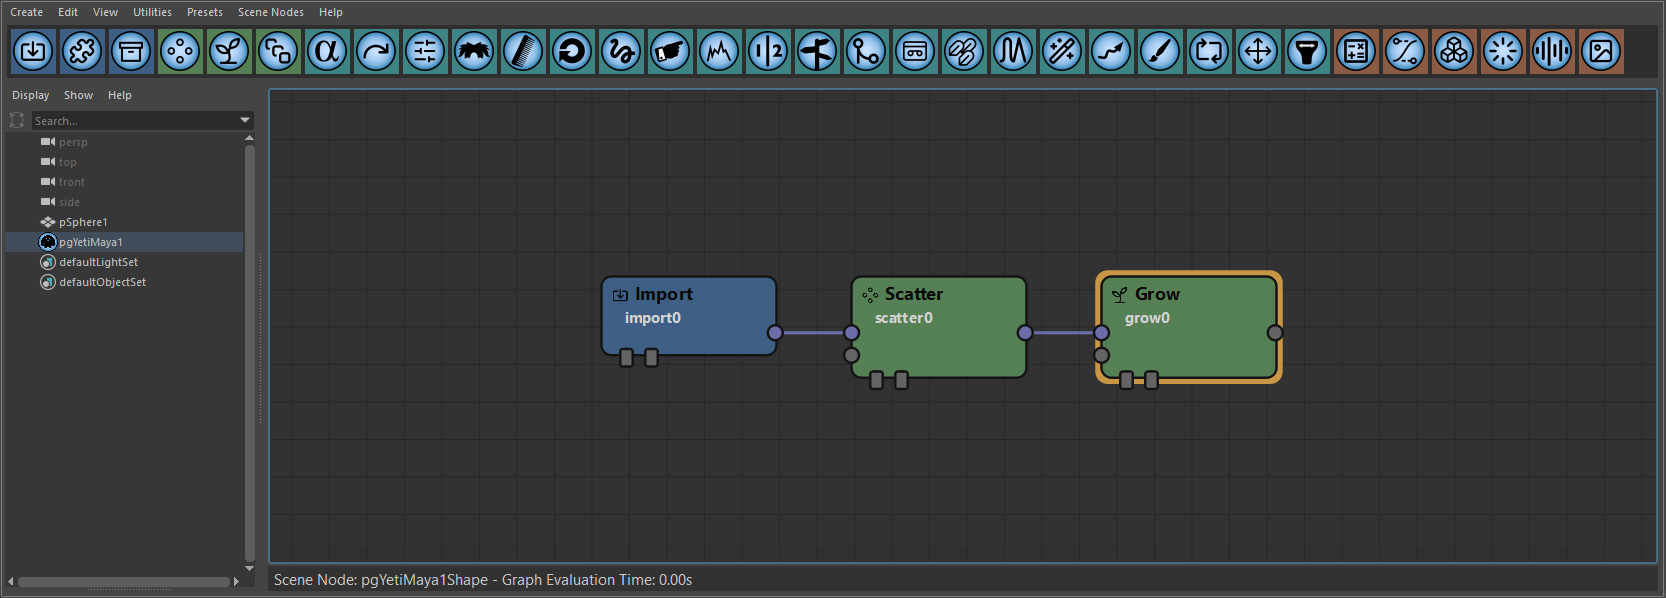
If a node is currently selected each new node will automatically be connected to it's output - this can be toggled off view the Auto Connect Nodes in the View menu.
Root/Ignore
Each node has two toggles along the bottom for controlling the node and/or graph behavior.
| Toggle | Description |
|---|---|
| Root | Root signifies that the node is the Root of the graph and is the point that the graph will be evaluated up until. As you work with the graph you may want to visualize the result of each step individually which is possible by changing this root node. |
| Ignore | Is for ignoring the node which is useful if you're experimenting with a graph and want to see how the result looks with or without a nodes influence. |
At this stage you should have a fairly evenly groomed furry sphere/cube/geometry of some sort in your Maya viewport and you may want to render.
